After the Storm: A Phoenix Homeowner's Guide to Navigating Roof Insurance Claims
The Valley of the Sun is no stranger to dramatic weather. When monsoon season arrives, it can bring powerful winds, driving rain, and even hail, leaving homeowners to assess the aftermath. Discovering your roof has been damaged is stressful enough, but navigating the complexities of an insurance claim can feel overwhelming. Many homeowners worry about missing critical steps, dealing with adjusters, or choosing the right contractor to perform the work.
At Sunset Valley Roofing, we believe you shouldn't have to face this process alone. We've helped countless homeowners restore their peace of mind by providing clarity and expert guidance. This guide will walk you through the essential steps of the roof insurance claim process, from initial damage assessment to completing your repairs, ensuring you feel confident and in control.
Step 1: Prioritize Safety and Document Everything
Once the storm has passed and it's safe to go outside, your first priority is to document the damage. Before you even call your insurance company, a clear record is your most powerful tool.
- Take Photos and Videos: From the ground, use your smartphone to take wide shots of each side of your roof. Look for obvious signs of damage like missing or crooked shingles. Also, document any damage on the ground, such as fallen tree limbs, displaced shingles in your yard, or dented gutters and A/C units. These details help build a comprehensive picture of the storm's impact.
- Look for Interior Signs: Check your attic and ceilings for any new water stains or active leaks. This indicates a breach in your roof's defense and adds urgency to your claim.
- Make Temporary Fixes (If Necessary): If you have an active leak, a temporary tarp can help prevent further interior damage. However, do not climb on a wet or potentially unstable roof. Your safety is paramount. A professional roofer can assist with this step if needed. Keep receipts for any materials you purchase for temporary repairs, as these may be reimbursable.

Step 2: Get a Professional Roof Inspection
While your photos are a great start, much of the damage caused by wind and hail isn't visible from the ground. This is where a professional assessment becomes crucial. An experienced roofer knows exactly what to look for, including:
- Hail Damage: Bruising, cracking, or granular loss on asphalt shingles that can compromise their integrity.
- Wind Damage: Lifted, creased, or torn shingles that have broken their sealant, creating entry points for water.
- Underlayment Issues: On a tile roof, the most significant damage often occurs to the underlayment beneath the tiles, which is impossible to see without a trained eye.
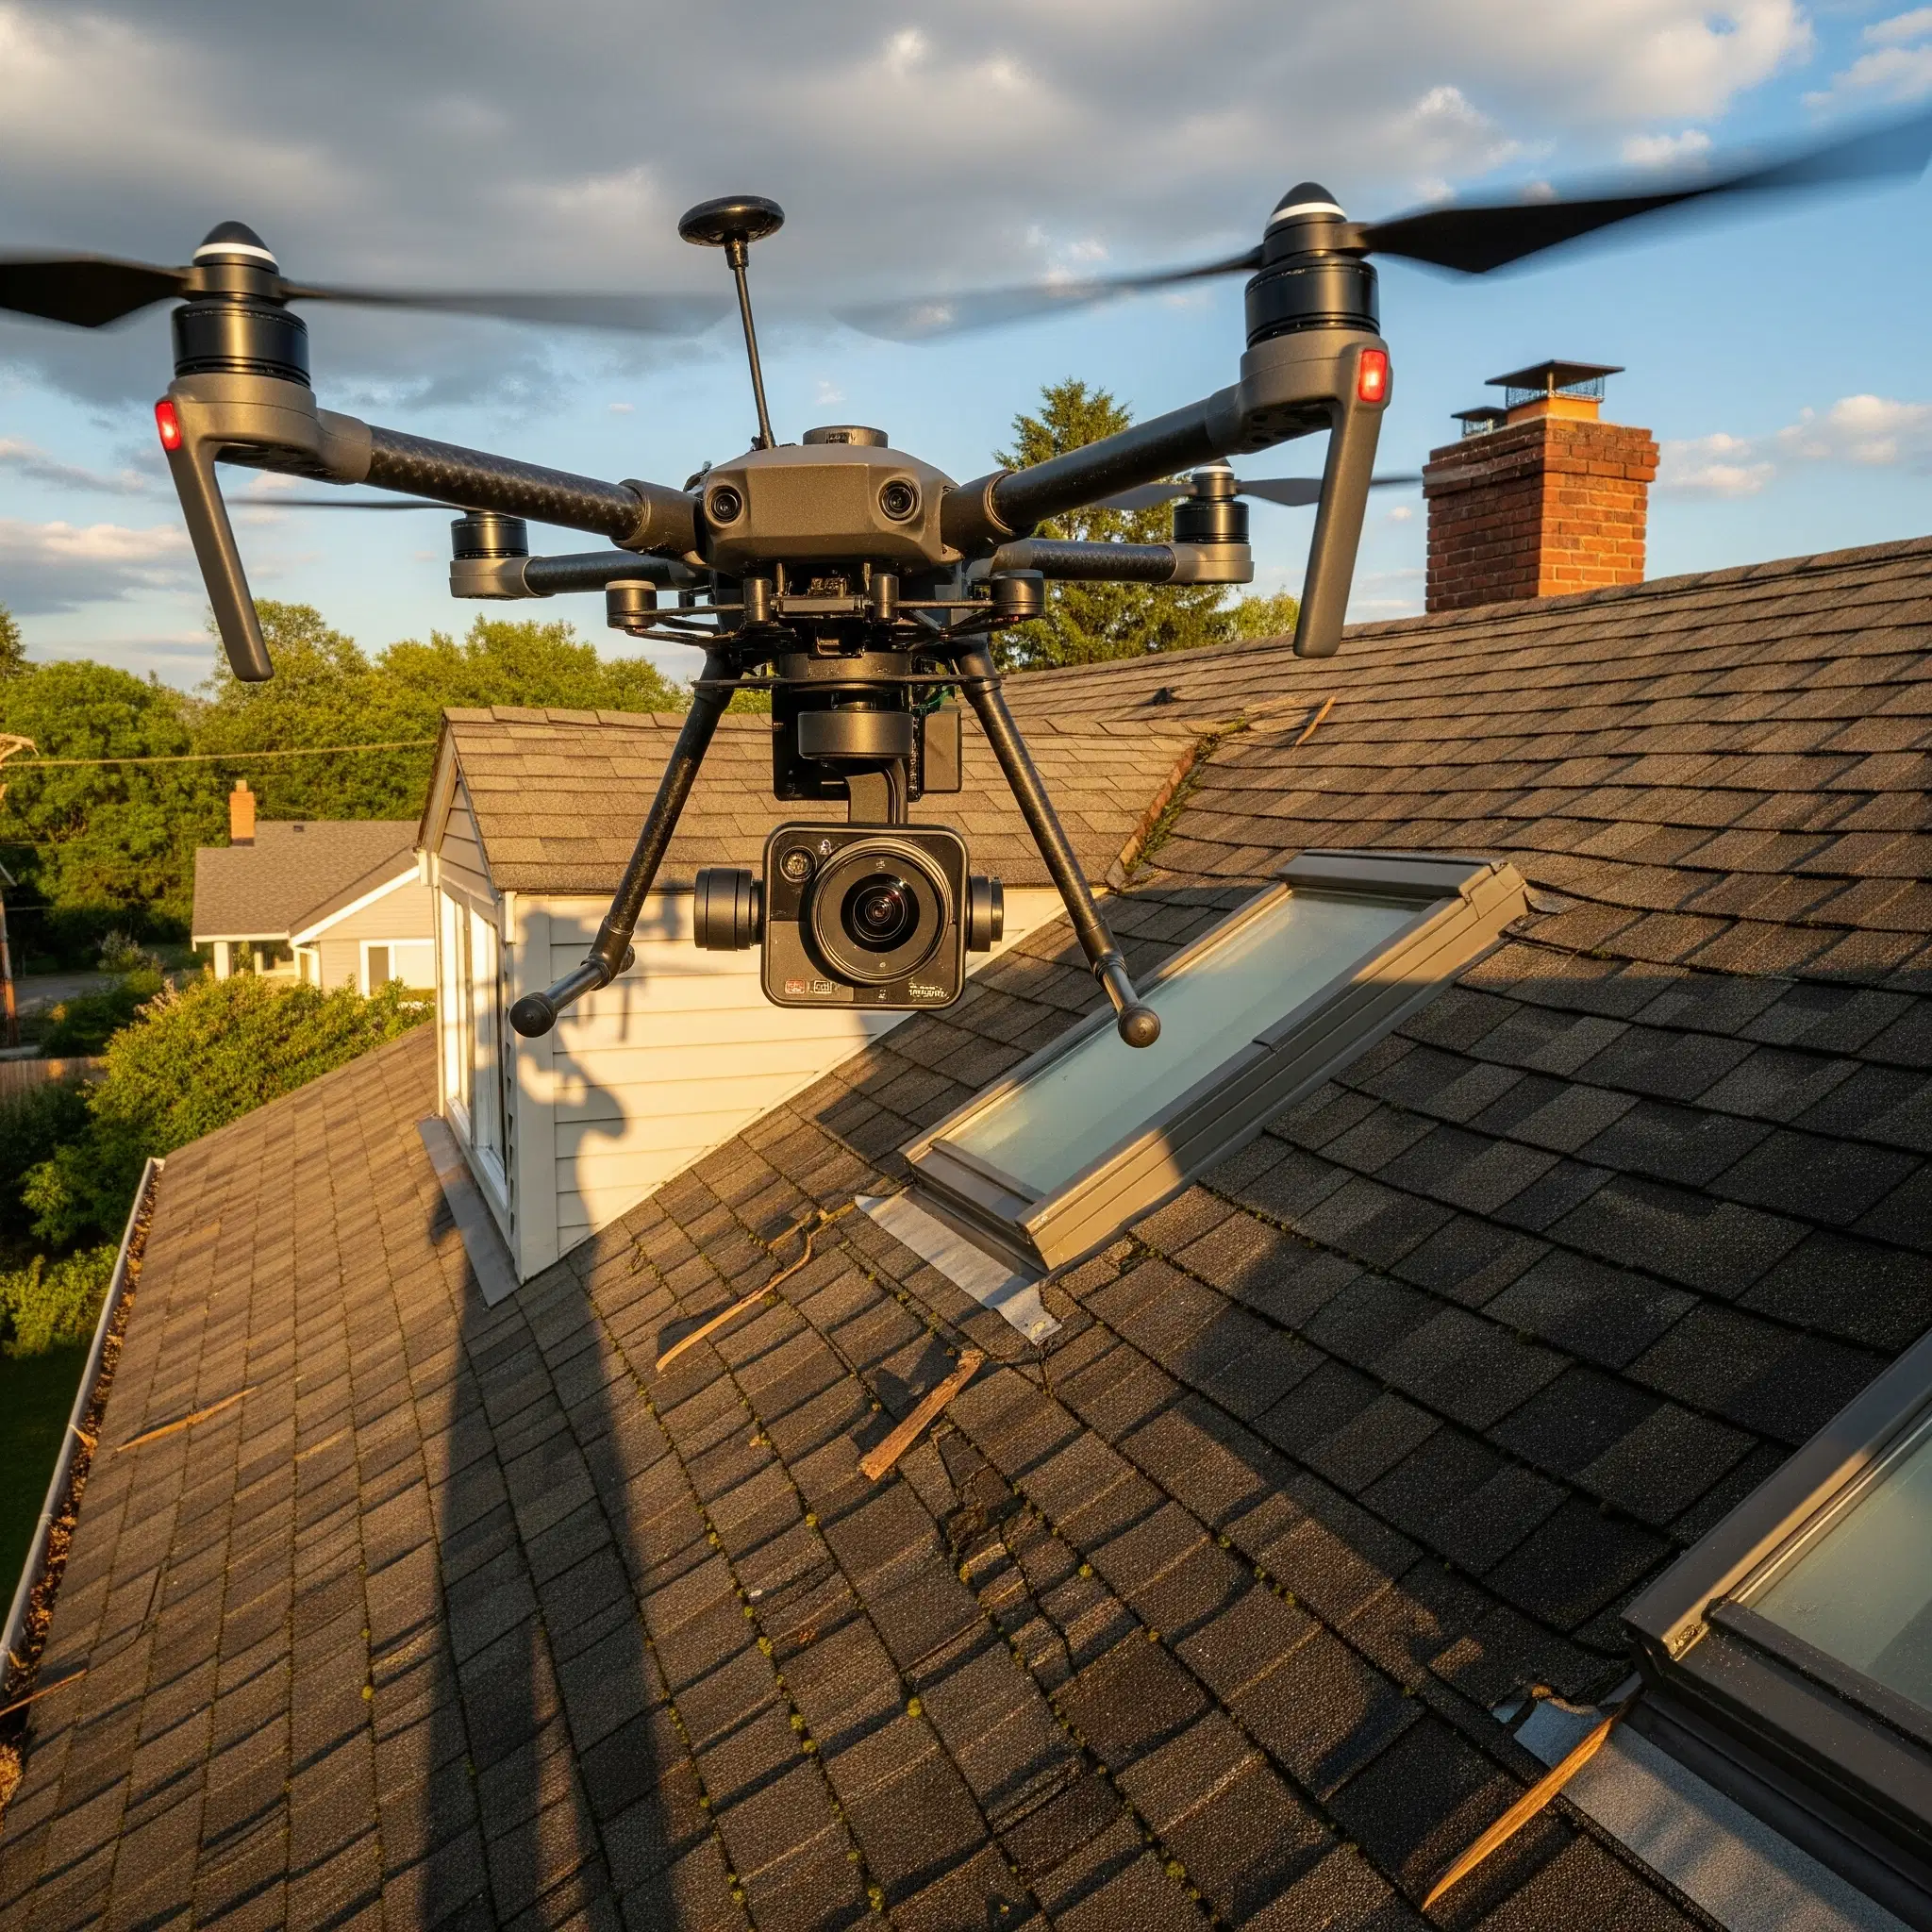
A thorough roof inspection provides you with a detailed, third-party assessment of the damage. This report, often supplemented with high-resolution photos and sometimes even drone imagery, serves as critical evidence for your insurance claim. It ensures that all damage is accounted for, not just the most obvious issues.
Step 3: Filing Your Claim and Meeting the Adjuster
With your documentation and professional inspection report in hand, it's time to contact your insurance provider.
- Review Your Policy: Take a moment to understand your coverage, specifically what is covered regarding wind and hail damage, and what your deductible is.
- File the Claim: Call your insurance agent or their claims department to initiate the process. They will assign you a claim number and schedule a time for an adjuster to visit your property.
- Schedule the Adjuster Meeting: When the adjuster calls, it is highly recommended that you have your chosen roofing contractor present for the appointment. Your roofer acts as your advocate. They can point out specific damages the adjuster might overlook, discuss local building codes, and ensure the scope of work accurately reflects what's needed to properly restore your roof. This collaboration helps prevent disagreements and ensures a fair assessment from the start.
Step 4: Understanding the Estimate and Choosing Your Contractor
After the adjuster's visit, you will receive a scope of work and an estimate from your insurance company. This document details the repairs they have approved and the amount they will pay, minus your deductible.
It's important to compare this with the estimate provided by your roofing contractor. If there are discrepancies, your roofer can communicate directly with the insurance company to submit supplemental information and negotiate on your behalf to ensure all necessary repairs are covered.
Once the scope of work is agreed upon, you can move forward with the repairs. Be wary of any contractor who offers to “waive” your deductible, as this is often a sign of insurance fraud. A trustworthy, local company will have a transparent process and a strong reputation for quality work. They understand the unique challenges of our climate, from intense sun damage to monsoon downpours, and will perform a roof repair or replacement that is built to last.
Your Partner in Protection
Dealing with a storm-damaged roof is a significant challenge, but you don't have to manage it alone. By following these steps—prioritizing safety, documenting everything, getting a professional inspection, and working with a reputable contractor—you can navigate the insurance claims process with confidence. A reliable roofing partner will not only restore your roof but also your peace of mind.
If your home has been affected by a recent storm in the Phoenix area, contact Sunset Valley Roofing today. We offer comprehensive residential roofing services, including detailed inspections and expert guidance through the insurance claim process. Let us help you protect your home.